Welcome back friends! I wanted to share some of the things I've been working on lately....some are for my
Paper Blessings Etsy Shop....some are projects from my Thursday and Saturday
Stamping and Paper Crafting Classes I have every month and some are just goodies I've made for myself. Any questions, please let me know.
Altered Ceramic Pumpkins
RE-purposed - Mini Photo Album from empty Tissue Paper Rolls

Card made from vintage trimmings

"BOO!" Mini pennant banner
Class - Kalaidacoloring and Brayering - Autumn

Class - Kalaidacoloring and Brayering - Winter
Class - Holiday Cards made from
Art Philosophy Cartridge
Class - Gifts for the Holidays - Mini Photo Album from TP Rolls
Journal Inserts were made from
CTMH Art Philosophy Cartridge Tags
Class - Gifts for the Holidays - Quick Treat Bags
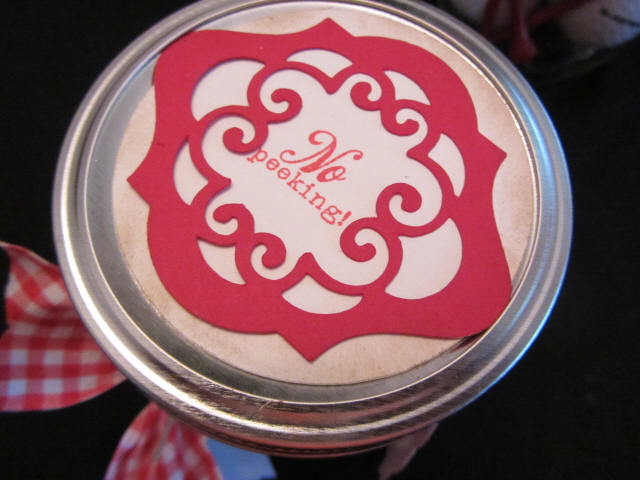
Class - Canning Jar Gifts
Golfing Canning Jar Gift - Top of Lid
Class - Canning Jar Gifts
Class - Cuttlebug Techniques - Embossing and Alcohol Inks
Class - One-Layer Card
Class - Cuttlebug Techniques - Direct to Folder Inking
Class - Faux Rust
Class - Cuttlebug Techniques - Wax Paper Flower
Class - Cuttlebug Techniques - Embossed Patterned Paper
Class - Autumn Cards made from
Art Philosophy Cartridge
Altered Ceramic Pumpkins
If you live locally, would love to have you join our
classes....class schedule is located at the top left of this blog and at
River City Gift Shoppe website .....we do have SO MUCH fun!!
Thanks much for visiting me. Don't forget to count your many blessings today! Bye for now.
http://www.flickr.com/photos/36885924@N00/6766155061/